| View previous topic :: View next topic |
| Author |
Message |
Kustombart
Tiki burner

Joined: 25 Jun 2007
Posts: 901
Location: Arnhem, Netherlands
|
 Posted: Sat May 24, 2008 3:08 pm Post subject: Flamethrower how-to Posted: Sat May 24, 2008 3:08 pm Post subject: Flamethrower how-to |
 |
|
Hey Kids! It's time for another episode of Dr. Kustombarts "things to try at home".
This time, I wanted to share with you the secret of exhaust flamethrowers. It's an easy and cheap way to steal the show anywhere and scare inncoent pedestrians to death! Fun for the whole family!
The idea is this:
-first you cut the ignition of the engine
-the unburnt fuel mixture goes into the exhaust
-you engage a second coil that sends a spark to a sparkplug in the exhaust pipe
-the fuel mixture is burnt in the exhaust and flames shoot out!
-everybody is impressed
Easy Peasy!
It is a real easy install, it will cost you about 20-25 euros in parts and maybe 1,5 to 2 hours installing time, depending on your skill.
Shopping list:
-1 spark plug
-1 nut with the same tread as the spark plug
-1 ignition coil plus high voltage spark plug lead
-1 relay switch "either/or"
-activation switch
-some wires and connectors
Spark plug can be any kind. I used a regular 2CV one. The nut is only available from specialist stores. Bring the spark plug and have them select a nut with the same thread.
I bought an ignition coil at a local scrapyard for ten euros. I took it off a golf2 and also took the bracket that holds it plus the cable to the spark plug. The relay switch I used is from Hella and it has one entry for a wire and switches from one exit to another. Switch can be anything you like. Wires and connectors are easy to find anywhere, it is a good idea to lable them or use different colours, so you know what's what.
Where to begin?
1: Drill a hole as close to the end of the exhaust pipe as possible. It should be big enough for the head of the spark plug to fit through.
2: Weld the nut onto the pipe so you can screw the spark plug into it and the elektrode sticks into the pipe. The weld has to be airtight!
3: Fit the second coil somewhere under the car, close to the spark plug.
4: Fit the switch into your dashboard and mount the relay switch somewhere close to it.
5: Now it's time to connect everything together.
See the drawing for the electrics.

My car has a DGnition which has three connections. Red is the 12V connection that comes from the ignition lock. Black and white are normally connected to the ignition coil.
Take the black wire off the coil and connect a new wire to it that runs to the "30" connection on the relay switch. Now run a scond wire from the 87a connection back to the ignition coil and connect it. If the relay switch is unpowered, the current goes from 30 to 87a and back to the coil, for normal ignition in the engine. If you connected everything OK, the car should still works normally. Test if it does by turning the key and see if the ignition works. Start the car to see that everything is normal.
So far, so good.
Now, run a wire from the plus side of the battery (or from you ignition plus) to the plus connector of the second coil in the back of the car.
A second wire comes back from the minus connection of the coil to the 87 connection on the relay switch.
Third and final is powering the relay switch.
Run a wire from the plus side of the battery to one side of the switch in the dashboard. Connect a wire from the other side of the switch to the 85 connector on the relay. Now connect the 86 connection to ground or minus side of the battery. Finito!
If you push the switch, the relay is powered, and it switches power from 87a to 87, thereby powering the second ignition coil, instead of the engine ignition.
How to get the best flames:
A rich fuel mixture makes better flames and a hot exhaust and engine are preferred. Pump the throttel a few times and let the engine rev. Push the button and flames should shoot out. Keep the throttle wide open. The engine RPM falls and you should let go of the button before the engine stalls.
Then you can start again!
Have fun and let's see the results!
_________________
Don't ask me what I think of you 'cause I might not give the answer that you want me to.
www.kustombart.com |
|
| Back to top |
|
 |
Olli
Soviet-Finn Photoshoper
Joined: 25 May 2007
Posts: 2146
Location: Soviet-Finland
|
| Posted: Sat May 24, 2008 3:43 pm Post subject: |
|
|
Cool! Thanks for nice tech article! Maybe Maybe Dr. Pepper needs one of these.
-Olli
_________________
www.ollierkkila.com |
|
| Back to top |
|
|
JoZeF
Grave Digger

Joined: 25 May 2007
Posts: 1734
|
| Posted: Sat May 24, 2008 4:25 pm Post subject: |
|
|
Don't forget that use of Flamethrowers gradually contaminates the engine oil with petrol... gradually reducing its lubrication performances

Frequent oil change is necessary.
_________________
"That bumper fits there like sunglasses on pig"  O.E. O.E.
 |
|
| Back to top |
|
|
Kustombart
Tiki burner
Joined: 25 Jun 2007
Posts: 901
Location: Arnhem, Netherlands
|
| Posted: Sat May 24, 2008 4:44 pm Post subject: |
|
|
You are right, you should regularly check the oil and change if neccesary. However, if you make sure the engine is hot the effect is minimal.
I've had a flamethrower for two years now and I use it on average once a day. No ill effects yet, if you keep to the regular maintenance intervals.
_________________
Don't ask me what I think of you 'cause I might not give the answer that you want me to.
www.kustombart.com |
|
| Back to top |
|
|
JoZeF
Grave Digger
Joined: 25 May 2007
Posts: 1734
|
| Posted: Sat May 24, 2008 5:52 pm Post subject: |
|
|
Ok
It's good to have decent feedback on theories about stuff.
Thanks.
_________________
"That bumper fits there like sunglasses on pig" O.E.
|
|
| Back to top |
|
|
Godspeed
Snailer
Joined: 08 Nov 2009
Posts: 33
Location: Belgium
|
| Posted: Thu Dec 17, 2009 10:58 pm Post subject: |
|
|
I'm very interested in building this on my LePatron.
Does anybody have a video for this mod to see the size of the flame?
Cheers
Godspeed aka Bart |
|
| Back to top |
|
|
Olli
Soviet-Finn Photoshoper
Joined: 25 May 2007
Posts: 2146
Location: Soviet-Finland
|
| Posted: Thu Dec 17, 2009 11:30 pm Post subject: |
|
|
Some non-moving images.
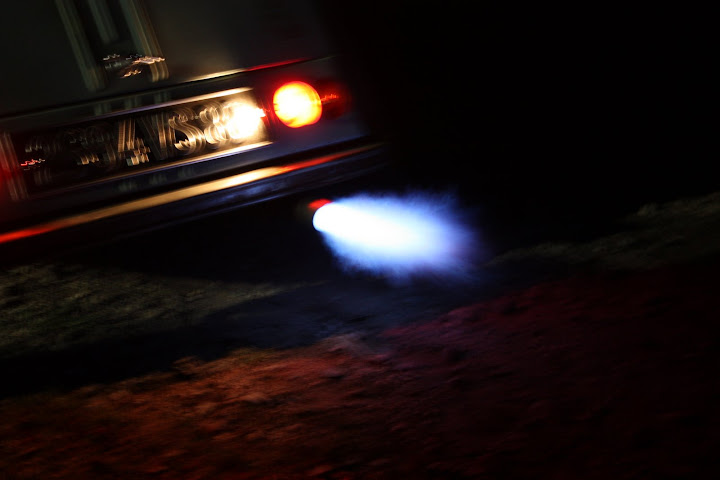
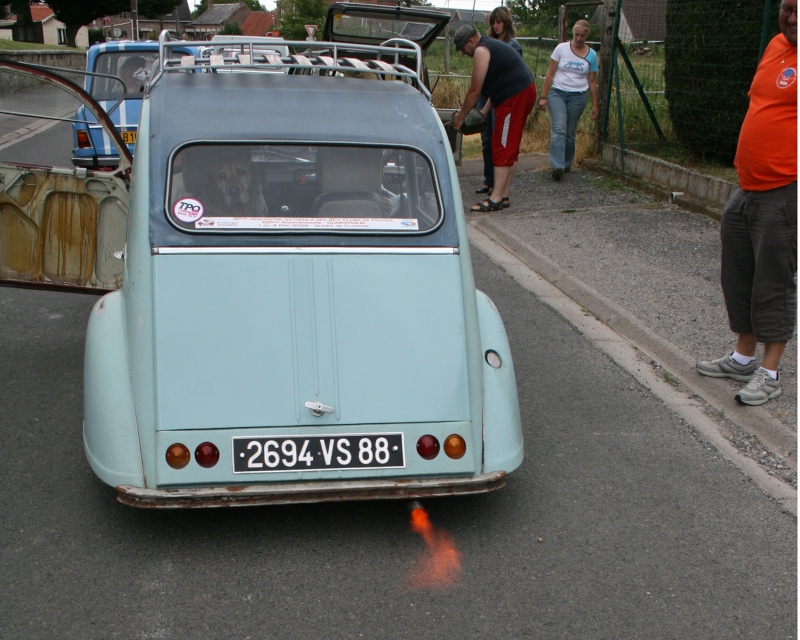

-Olli
_________________
www.ollierkkila.com |
|
| Back to top |
|
|
Godspeed
Snailer
Joined: 08 Nov 2009
Posts: 33
Location: Belgium
|
| Posted: Thu Dec 17, 2009 11:43 pm Post subject: |
|
|
Ooohhhh great,
I am sold now.
I need to build this gadget.
Thanks |
|
| Back to top |
|
|
|


